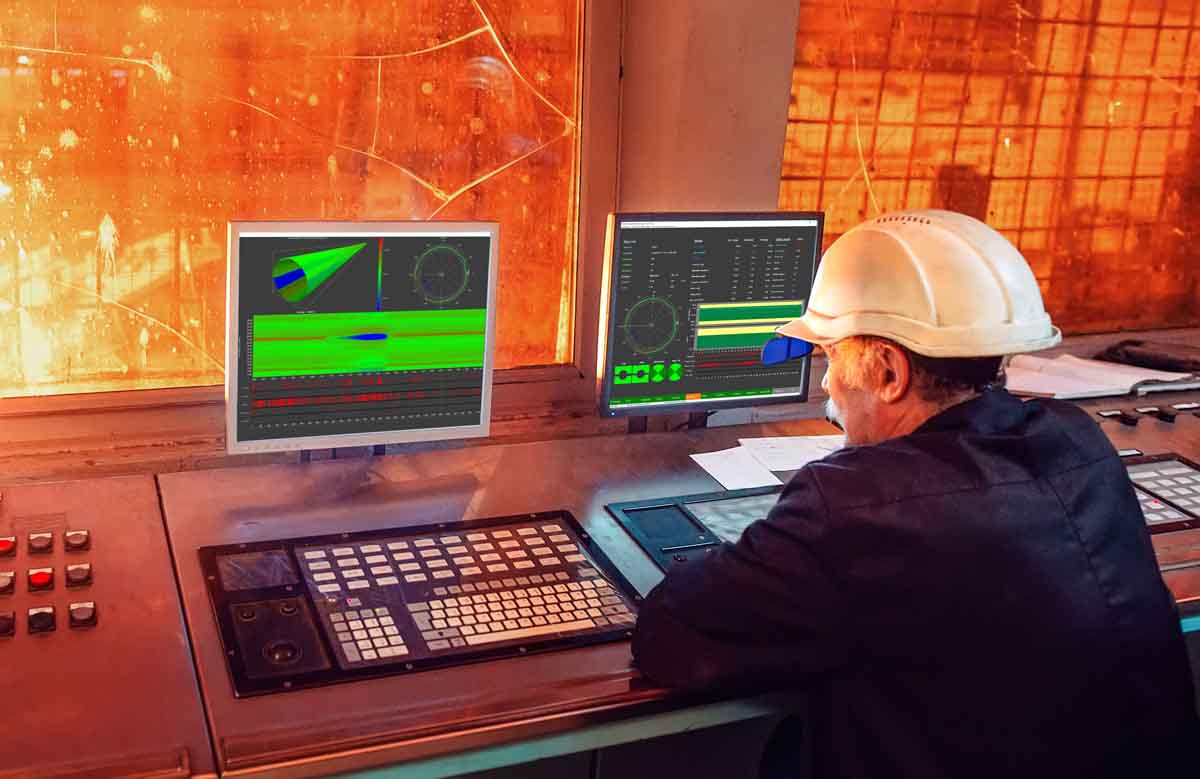
At Tube 2020 in Düsseldorf, LAP is presenting for the first time its new SMART CORE PRO software for measuring the contours of long products. It enables the deep integration of geometrical data in the increasingly networked rolling mill production environment, making it available for cross-process data applications in the smart factory.
With its new SMART CORE PRO software package, LAP introduces a system that makes the intensive, factory-wide use of long-product contour data possible, both directly in the process line and in the data structures of a networked Industry 4.0 production environment. Its high connectivity opens up the way for the exchange of data between people, machines and processes, and the use of comprehensive contour-measurement data.
With SMART CORE PRO, the results from the CONTOUR CHECK SHAPE contour measuring system can be used directly to control the rolling process, as well as for further analysis in cross-process production control and quality assurance. The data is also available for use in MES or ERP systems, delivering comprehensive input for further use in big-data analysis or for future applications in supply-chain optimization.
Martin Pabst, head of the Industry Systems business unit at LAP, sees a great need for the deep integration of geometrical data in superordinate systems: “In the digital factory, machines organize production autonomously, exchange information automatically, initiate actions, and control each other. Industry 4.0 in the rolling mill starts where data from measuring systems is intelligently linked with superordinate systems. SMART CORE PRO makes the geometrical data of the rolled product available factory-wide in highly networked manufacturing processes. With it, users can improve processes at a higher level, and precisely evaluate quality and output.”
The Technology in Detail
Contour Measurement with CONTOUR CHECK SHAPE
The systems of the CONTOUR CHECK SHAPE series measure the contours of round products like bar, tube, ribbed steel bar, and flat, hexagonal, and octagonal profiles in-line, using laser light-section technology. They detect shape deviations like over- and underfill on one or both sides, surface defects, and roll offset and wear.
A unique feature of SMART CORE PRO is the unambiguous automatic detection and classification of profile deviations and surface flaws, which allows the causes to be remedied. The software differentiates between different convex and concave contour deviations, and categorizes them into five different length classes.
As a result, the adjustment of the rolling stand no longer depends on subjective estimates, and the software gives specific information on how to set the stand. For example, the measured values for a roll offset can flow directly into the roll-adjustment target value.
That means that the rolling stand can be trimmed faster and more accurately after product changes, raising the certainty of producing within specified tolerances again within a short time, and so increasing rolling-mill output.
For two- and three-roller stands, it is important to reliably detect the orientation of the profile. An algorithm specially developed for SMART CORE PRO compensates for any twisting of the material between the rolling stand and the measurement point. As a result, the contour is always detected and presented in the correct position.
This makes it possible to clearly assign the core dimensions, like gauge base and groove, shoulder, and seam size of the stand setting and the rollers causing it, which is a basic requirement for the automatic control of the rolling process.
LAP at TUBE/WIRE 2020
Düsseldorf, March 30 to April 3, 2020
Hall 7a, booth E16


